To me this is what September is all about; the last of the summer dresses, blackberry picking in gumboots, mixing cozy sweaters with perfectly worn in shorts, wine on the beach, delicious stone fruits from farmers markets, meals with friends and split back top (I've been obsessive over those.)
Showing posts with label Shirt. Show all posts
Sunday, 15 September 2013
Thursday, 13 June 2013
Sweet Baby Blues
Both parts of this outfit are actually perfectly DIY worthy, Jules Sarina from Sincerely Jules, killin' it as per usual.
Xo Austere
Friday, 29 June 2012
DIY Inspiration: Denim Shirt
I have not been able to stop thinking about this shirt and what a great DIY project it would be ever since I saw it on Pinterest. I didn't have the best of luck finding a good fitted denim shirt on a recent thrift store shopping adventure with Austere but hopefully I will find one soon and be able to attempt my own version of this bad boy.
Sorry about the recent lack of DIY posts. I promise Austere and I have been sewing up a storm and some great new posts are on there way!
Prudence
Photo from She Inside
Thursday, 24 May 2012
Cut outs and Cut Backs
I'm a big fan of simple DIY projects that make an otherwise ordinary item stand out. So when I saw this photo from Fashion Gone Rogue on the Spell and Gypsy Collective blog I new these unique but simple cut outs were going to shoot to the top of my DIY list. As soon as I find the perfect shirt to alter you can expect a DIY tutorial to be posted.
Prudence
Photo from FGR and Spell
Thursday, 10 May 2012
DIY Fringe Shirt
Materials needed:
A Mens Size Small T-shirt
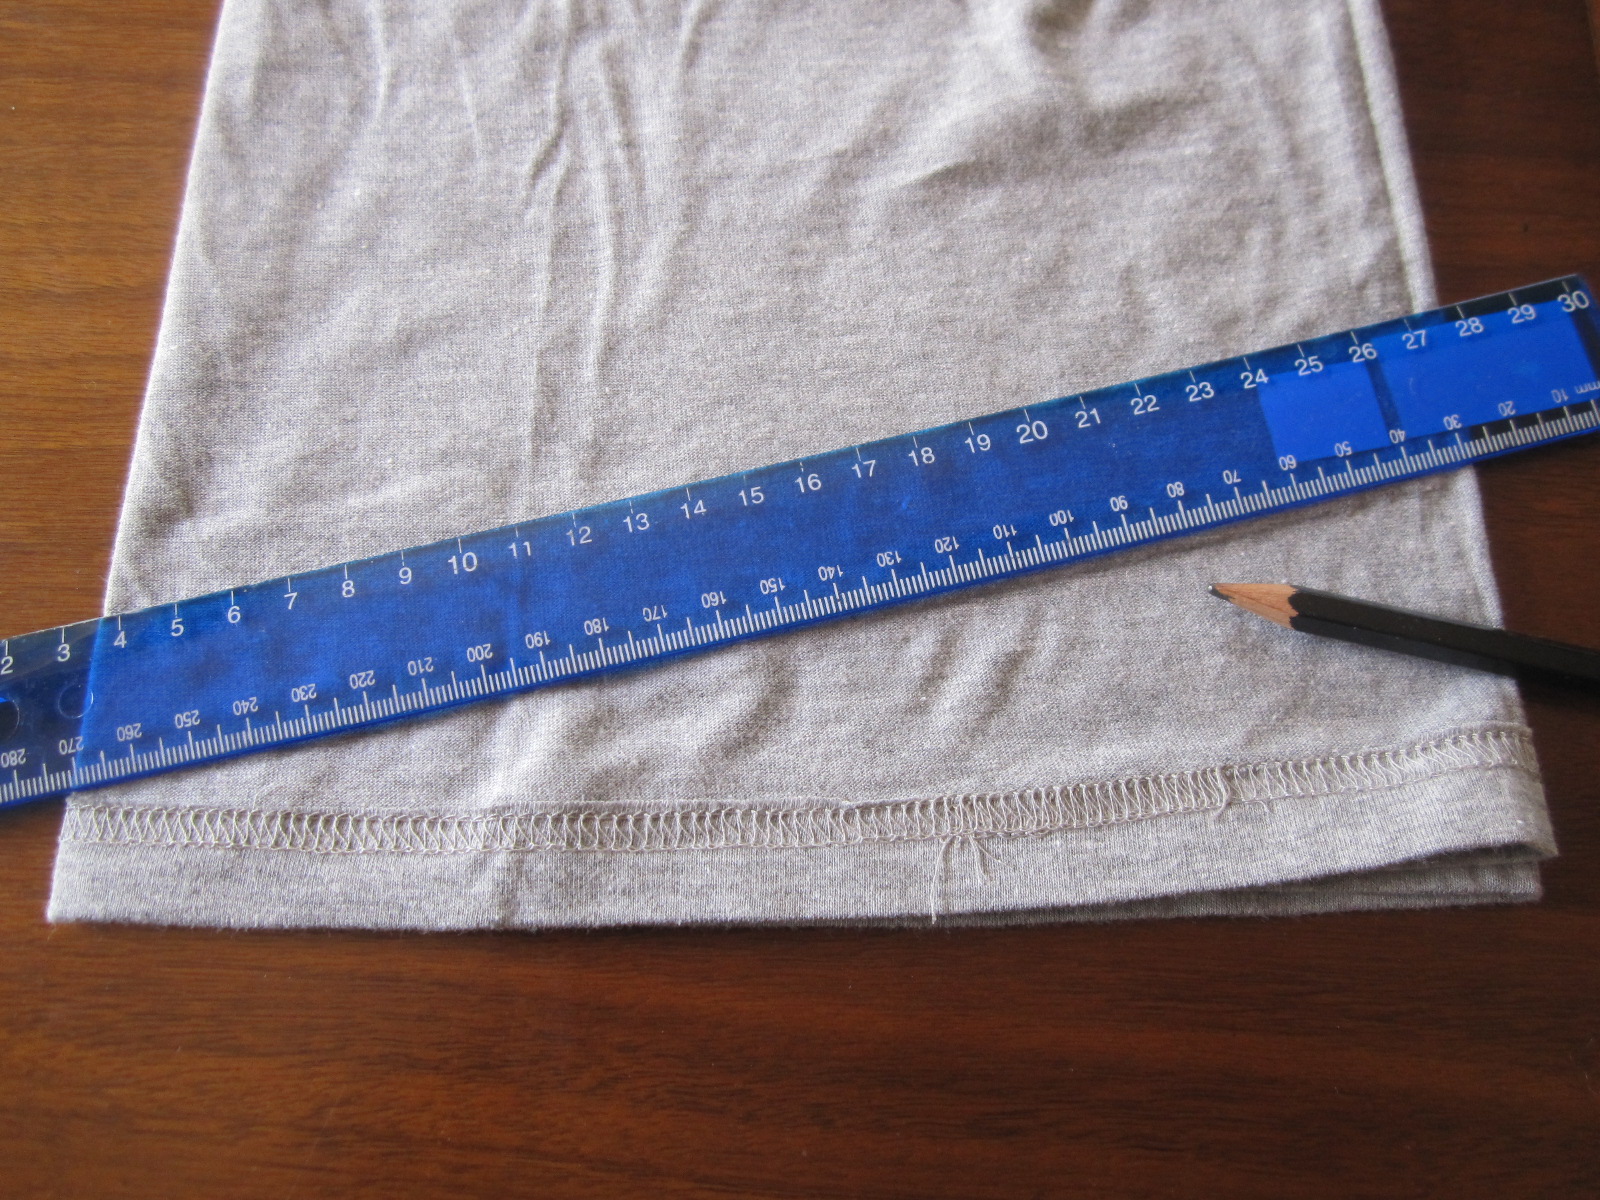
A Ruler
A Pencil or Marking Tool
Scissors
Turn your t-shirt inside out, fold it in half. Cut the lower part of each sleeve off.
With your ruler mark a diagonal line on your shirt with the lowest part in the middle of the shirt. then cut the bottom section off and discard.
Make a small cut beside the collar of the shirt. for the back cut following just below the collar line. For the front I was going for a casual t-shirt so kept my cut a big higher. To keep your cut even you can fold the t-shirt in half making sure to keep the back half clear of your scissors. Start your cut at the lowest point cutting up wards to meet with your original neckline cut. Remember you can always cut off more so start with a modest cut.
xo Austere
Tuesday, 1 May 2012
DIY: Easy Backless Shirt
It
would be hard to not notice the backless trend that is everywhere
right now and not only is this a great trend that I am a huge fan of
but it is also extremely easy to turn into a DIY project.
What
you will need
- A simple stretch shirt. (The one I used was from Forever 21)
- Scissors
- Measuring tape
- Washable marker
How
To
-
Cut off the collar of the shirt. To make sure you cut the collar evenly measure and mark one inch from the collar on each side and going around the front of it.
- I wanted a really deep backless shirt but you can choose however deep you would like your shirt to be. On the back of the shirt make a mark where you would like the shirt to be cut to.
- Carefully cut the back of the shirt out, making sure that both sides are even. If unsure of how much to cut always lean on the side of caution. You can always cut more out but you can't add it back on.
- Once you have the shirt cut to your liking you are done! The shirt will slightly curl along the cuts, if you want to avoid this you can hem the shirt using a stretch stitch. Wear and enjoy.
Prudence
Subscribe to:
Posts (Atom)